I believe that the older brothers who will have their own scientific Internet tools, I believe that some older brothers may still not be satisfied with their own circumvention tools, here I will teach how to use HEROKU to build v2ray, if you can build vps by yourself Wall then you don’t need to read this article, you are very good, if you are an airport boss, then please take a detour~
github address: https://github.com/bclswl0827/v2ray-heroku#%E6%A6%82%E8%BF%B0
Overview: Heroku provides us with a free container service, we should not abuse it, so this project should not be used as a long-term use.
Two or more applications can be deployed to achieve load balancing, avoiding a long-term high-traffic connection to a certain application and being judged as abuse by Heroku.
Heroku's network is not stable, please think twice before deploying.
Other places that need attention have been written on github
So first:
step one
Click this, you need to log in, if you don’t have an account, you can do one yourself first, click the sighup below
After logging in successfully, you will see the following page
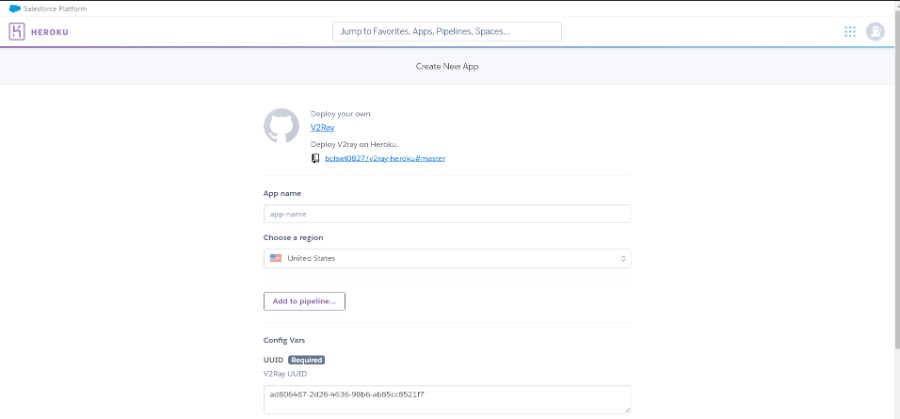
I installed v2ray, the source is from bclswl0827/v2ray-heroku#master, so let’s start
The app name can be written arbitrarily, when it is displayed next to it ✔ that’s okay
choose a region He has the United States and Europe, I recommend you to use the United States
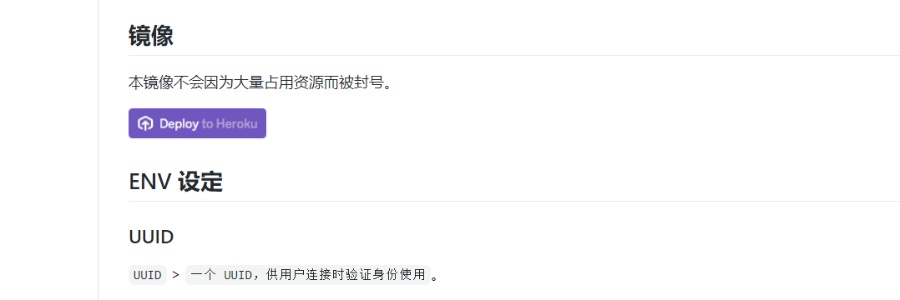
There will be a uuid below, you don’t need to remember to save it first, you can also save it. uuid is also very important.
Click deployapp, and then start the installation, after completion, it will look like this
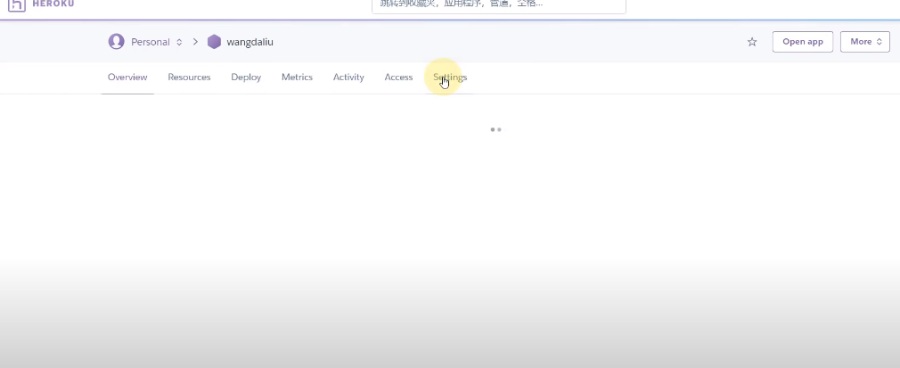
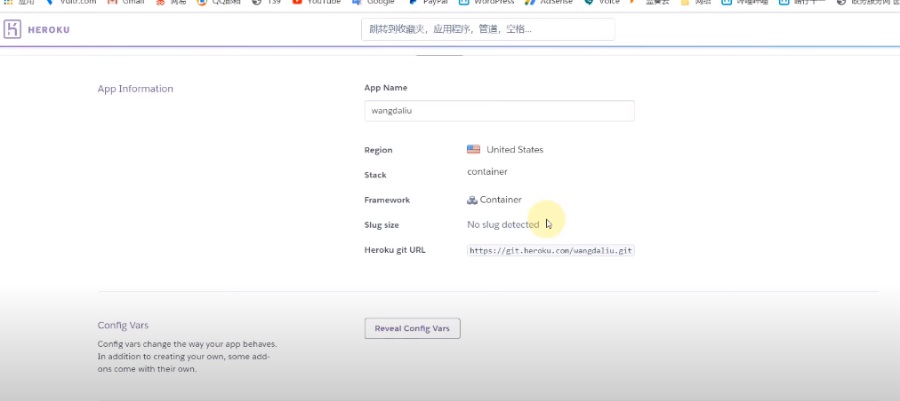
Click manage app after finishing, click setting after finishing
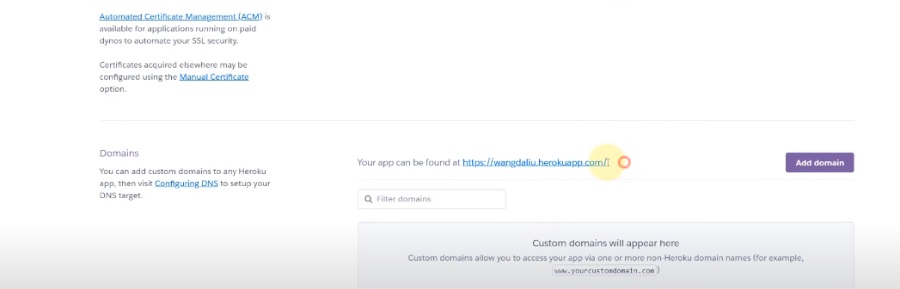
You can see the detailed application settings, then open your v2ray and go back to this page. Scroll down and you can see a domain called domains. Copy the paragraph behind yourappcanbefoundat next to it.
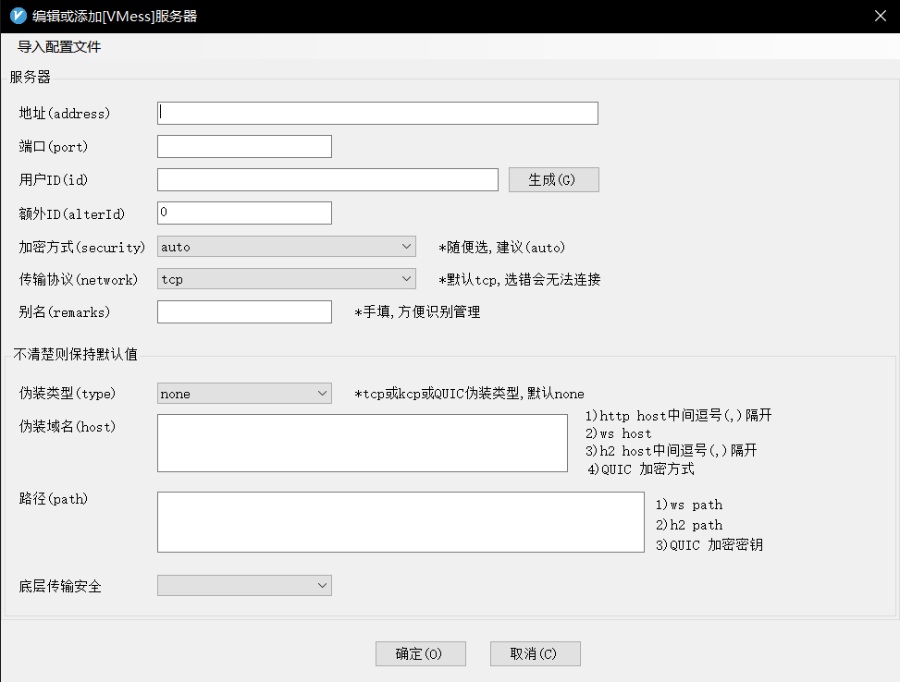
Open v2ray to add the server, click on the server, click on the add vmess server, just copy the http: or something in the address section, after pasting, remove the http:// and the following / to remove the remaining wangdaliu.herokuapp.com, the port is adjusted to 443
User ID returns to the page just now, find this config vars, click reveal config vars, uuid copy appears
Go back to your v2ray and paste in uuid, select the transmission protocol, write heroku as the alias, path /, the bottom transmission security tls, select true next to it, and click OK
Then your node has been completed and you can achieve scientific Internet access
The tutorial is not over yet, it is scientifically able to surf the Internet, but the speed is not fast enough, youtube can only run at 720p, maybe, let’s teach
Set up cloudflare for anti-generation
Set up cloudflare for anti-generation The URL is here:
In addition, add another to help you choose the best IP address for you
Best ip address github address: https://github.com/badafans/better-cloudflare-ip


Comments
Post a Comment